Photo Submission Guide for Your Hair Analysis
Good photos let a clinic give you a far more accurate remote assessment. Take clear, well-lit shots of your hairline, top, crown and both sides, plus the back (donor area), in natural daylight with dry, uncombed hair and no heavy styling. A few good images of the areas that concern you are more useful than many blurry ones. Your photos are personal data — a reputable clinic uses them only for your assessment and handles them securely.
Why good photos matter
A remote or free hair analysis is only as good as the images it's based on. Clear photos let the team see your hairline, the pattern and density of thinning and — importantly — your donor area, which drives what's realistically possible. Poor lighting or heavy styling hides exactly what needs to be seen, so a little care here gives you a more useful, honest response.
How to take them
You don't need special equipment — a phone camera in daylight is fine. Follow the checklist below, keep the hair dry and natural, and take each shot in focus. If an area concerns you specifically, include a close-up as well as the wider view. It helps to have someone take the back and crown shots for you, or to use a second mirror, so those areas are clearly in frame.
Common mistakes to avoid
Most unhelpful photos share the same few problems, and they're easy to avoid once you know them. Harsh overhead light or a bright window behind you casts shadow exactly where detail is needed; wet, gelled or heavily styled hair hides the true density; and a blurry or too-distant shot makes the hairline and donor area impossible to read. Taking a moment over lighting and focus gives the team far more to work with — and a more honest, useful response for you.
What the clinic looks for in your photos
Your images do more than show the thinning you're worried about. The team reads the pattern and stage of loss across the front, top and crown, and — just as importantly — assesses the density and quality of the donor area at the back and sides, because that supply is what determines what's realistically possible. Good coverage of every angle lets a clinic give a considered, indicative view rather than a guess, and to be honest with you if a transplant isn't the right step yet.
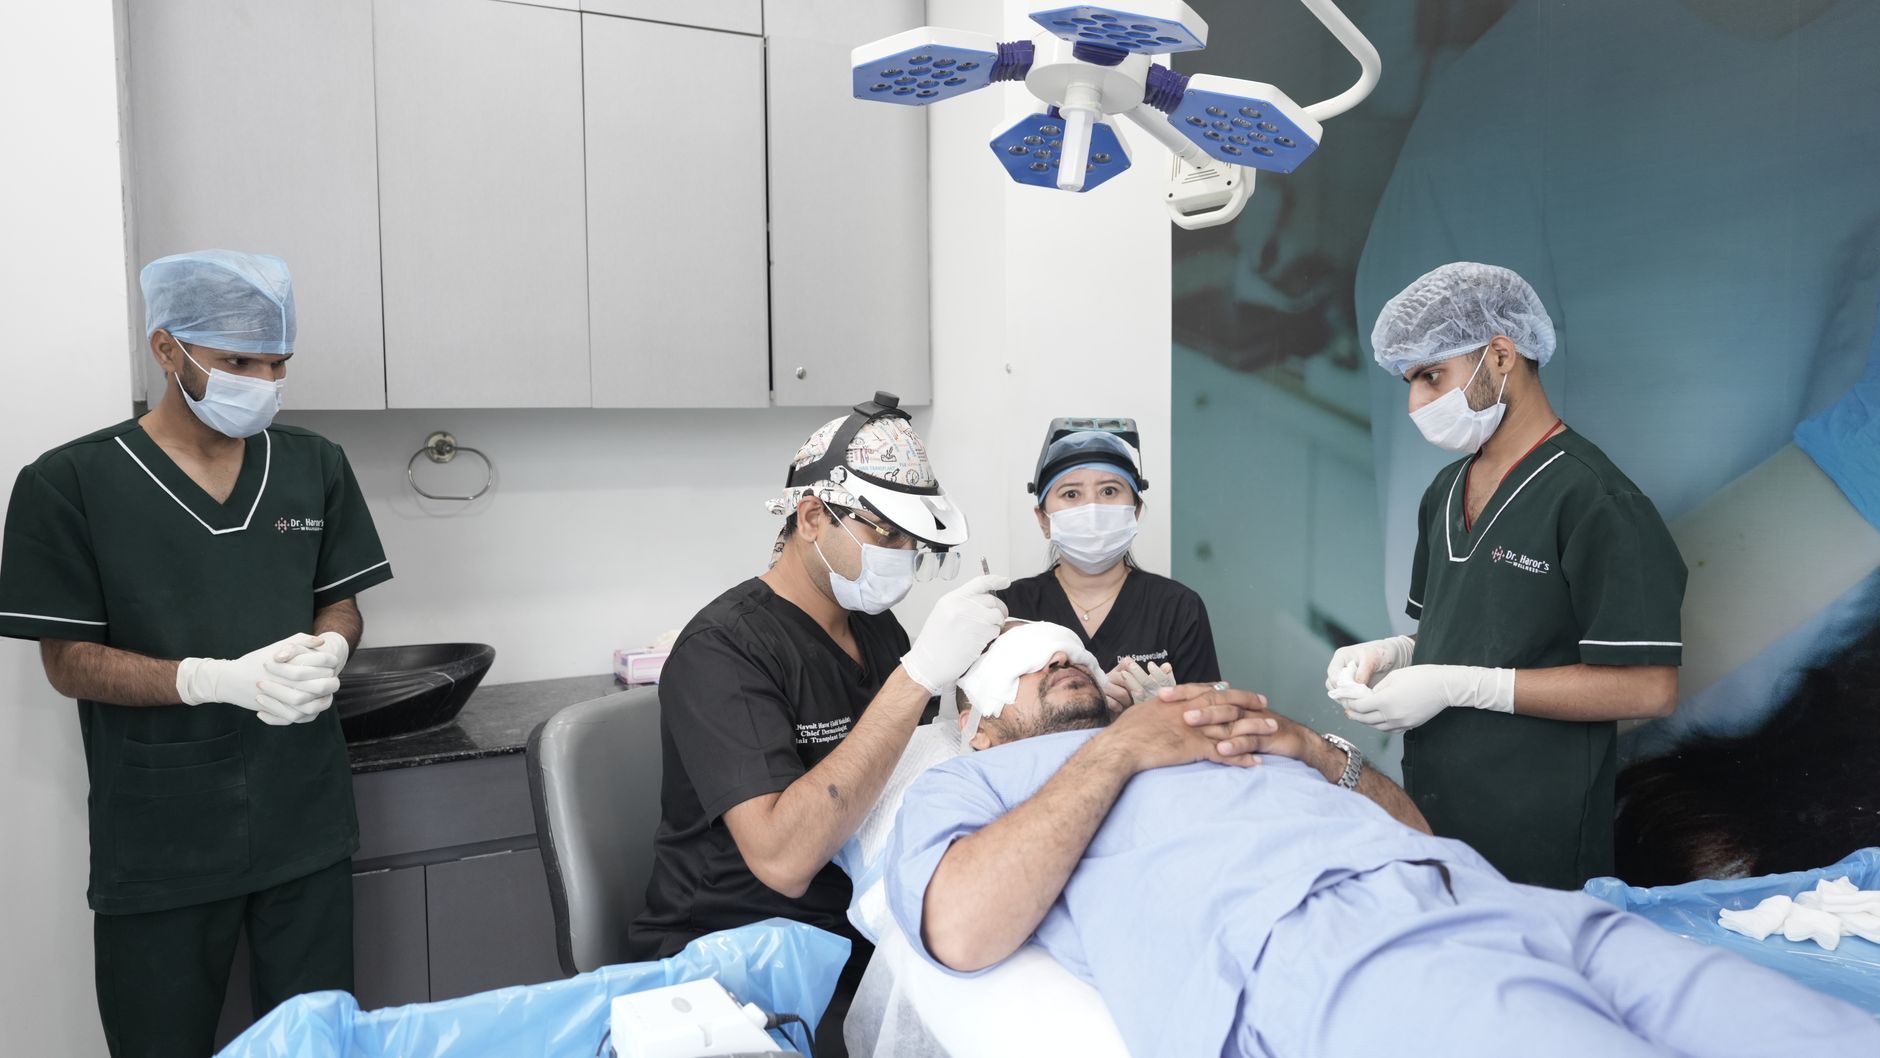
The shots to send
- Front hairline, looking straight at the camera
- Top of the head, camera slightly above
- Crown / back of the top, tilting the head down
- Left and right sides
- Back of the head (donor area)
- A close-up of any area that concerns you most
- All in natural daylight, hair dry and uncombed, no hats or heavy product
Where to go next
 Patient journeyFree Hair AnalysisShare a few photos and our patient team will…What to expect Free toolHair Graft CalculatorEstimate how many grafts you may need with o…Try the tool Free toolNorwood Scale CalculatorIdentify your hair loss stage on the Norwood…Try the tool
 TrustData & Image PrivacyHow your health data, uploaded photos and an…How we work Patient journeyHair Transplant Process in TurkeyFrom consultation and graft planning to oper…What to expect
Common questions
What photos do I need for a hair transplant assessment?
Can I get an accurate assessment from photos alone?
How many photos should I send?
How are my photos handled?
Should I take the photos with a flash?
Start with a free hair analysis
Share a few photos and our patient team will come back with an indicative plan, the technique that fits and the package that applies — no obligation.